It’s no secret that I have a huge problem when it comes to starting projects and taking forever (or just giving up half way through) to actually finish them. The first time this happened it was with a pair of heels I was gluing rhinestones too – I know, what was I thinking?! To this very day Logan is STILL giving me a hard time for that, and this took place around 2013! Some things you just cannot live down…

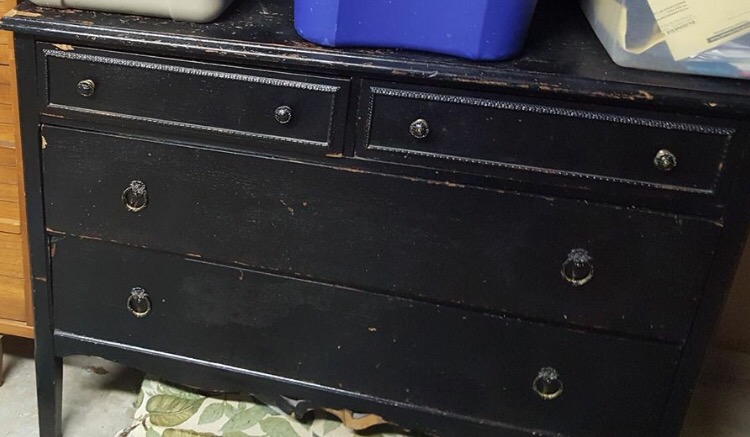
In March {oops} I bought an old, black dresser off of a local Facebook for sale group. It wasn’t anything special, but had good bones and looked sturdy. My plan was to turn it into an entertainment center. The one we currently had barely fit the television and took up so much space in our small living room. I just didn’t like the way it looked in our new house, although other than appearances there was absolutely nothing wrong with it. Well on Thursday, yes three months after I bought the old dresser, I FINALLY gave it its makeover.
It was actually a very simple, albeit time consuming, project. It took me around 6 hours to paint, destress, and wax it. And I only required a little help drilling out a hole in the back of it for cords! Better yet, the total cost for this project was only $30!!
Turn Your Old Dresser Into An Entertainment Stand
For this project you’ll need just a few simple supplies:
1.) A dresser – I was lucky enough to find this for $20 on a garage sale site!
2.) Chalk paint {or if you’re cheap like me and don’t feel like spending a lot on paint: 1 pint paint, 6T water, and 1c baking soda – mixed well}
3.) Paint brush
4.) Paint tray
5.) Finishing wax
6.) Standard house hold cleaner and paper towels
7.) Medium grit sandpaper
First things first, clean your dresser!! Get off all the dust, grit, and smudgy handprints off of it. Be sure to take out the drawers as well!
IF you are going the DIY chalk paint route ~ mix together your paint, baking soda, and water in the paint tray. Make sure it’s not lumpy!

Because my dresser was black and I wanted it to be white it took several coats of paint, but the good thing about chalk paint is that it dries relatively quickly! When it comes to painting the dresser drawers, don’t paint them while they’re in the dresser or you won’t be able to get them out. Also make sure to unscrew the drawer handles to get full paint coverage.
After it’s all painted and dry, distress any areas on it if you want to give it that “chippy” look. I used a sheet of medium grit sandpaper. A tip for distressing: do it on areas that it will look most natural, like the corners, around the handles, and edges of the top and bottom.
After distressing it’s time to wax! Chalk paint is very dry and can leave a dusty residue, which causes the paint to wear off and chip easier. The finishing wax helps seal it in and prevent that from happening. Follow the directions on the back of the wax that you are using. ** Finishing wax can be found next to the paint or stain **
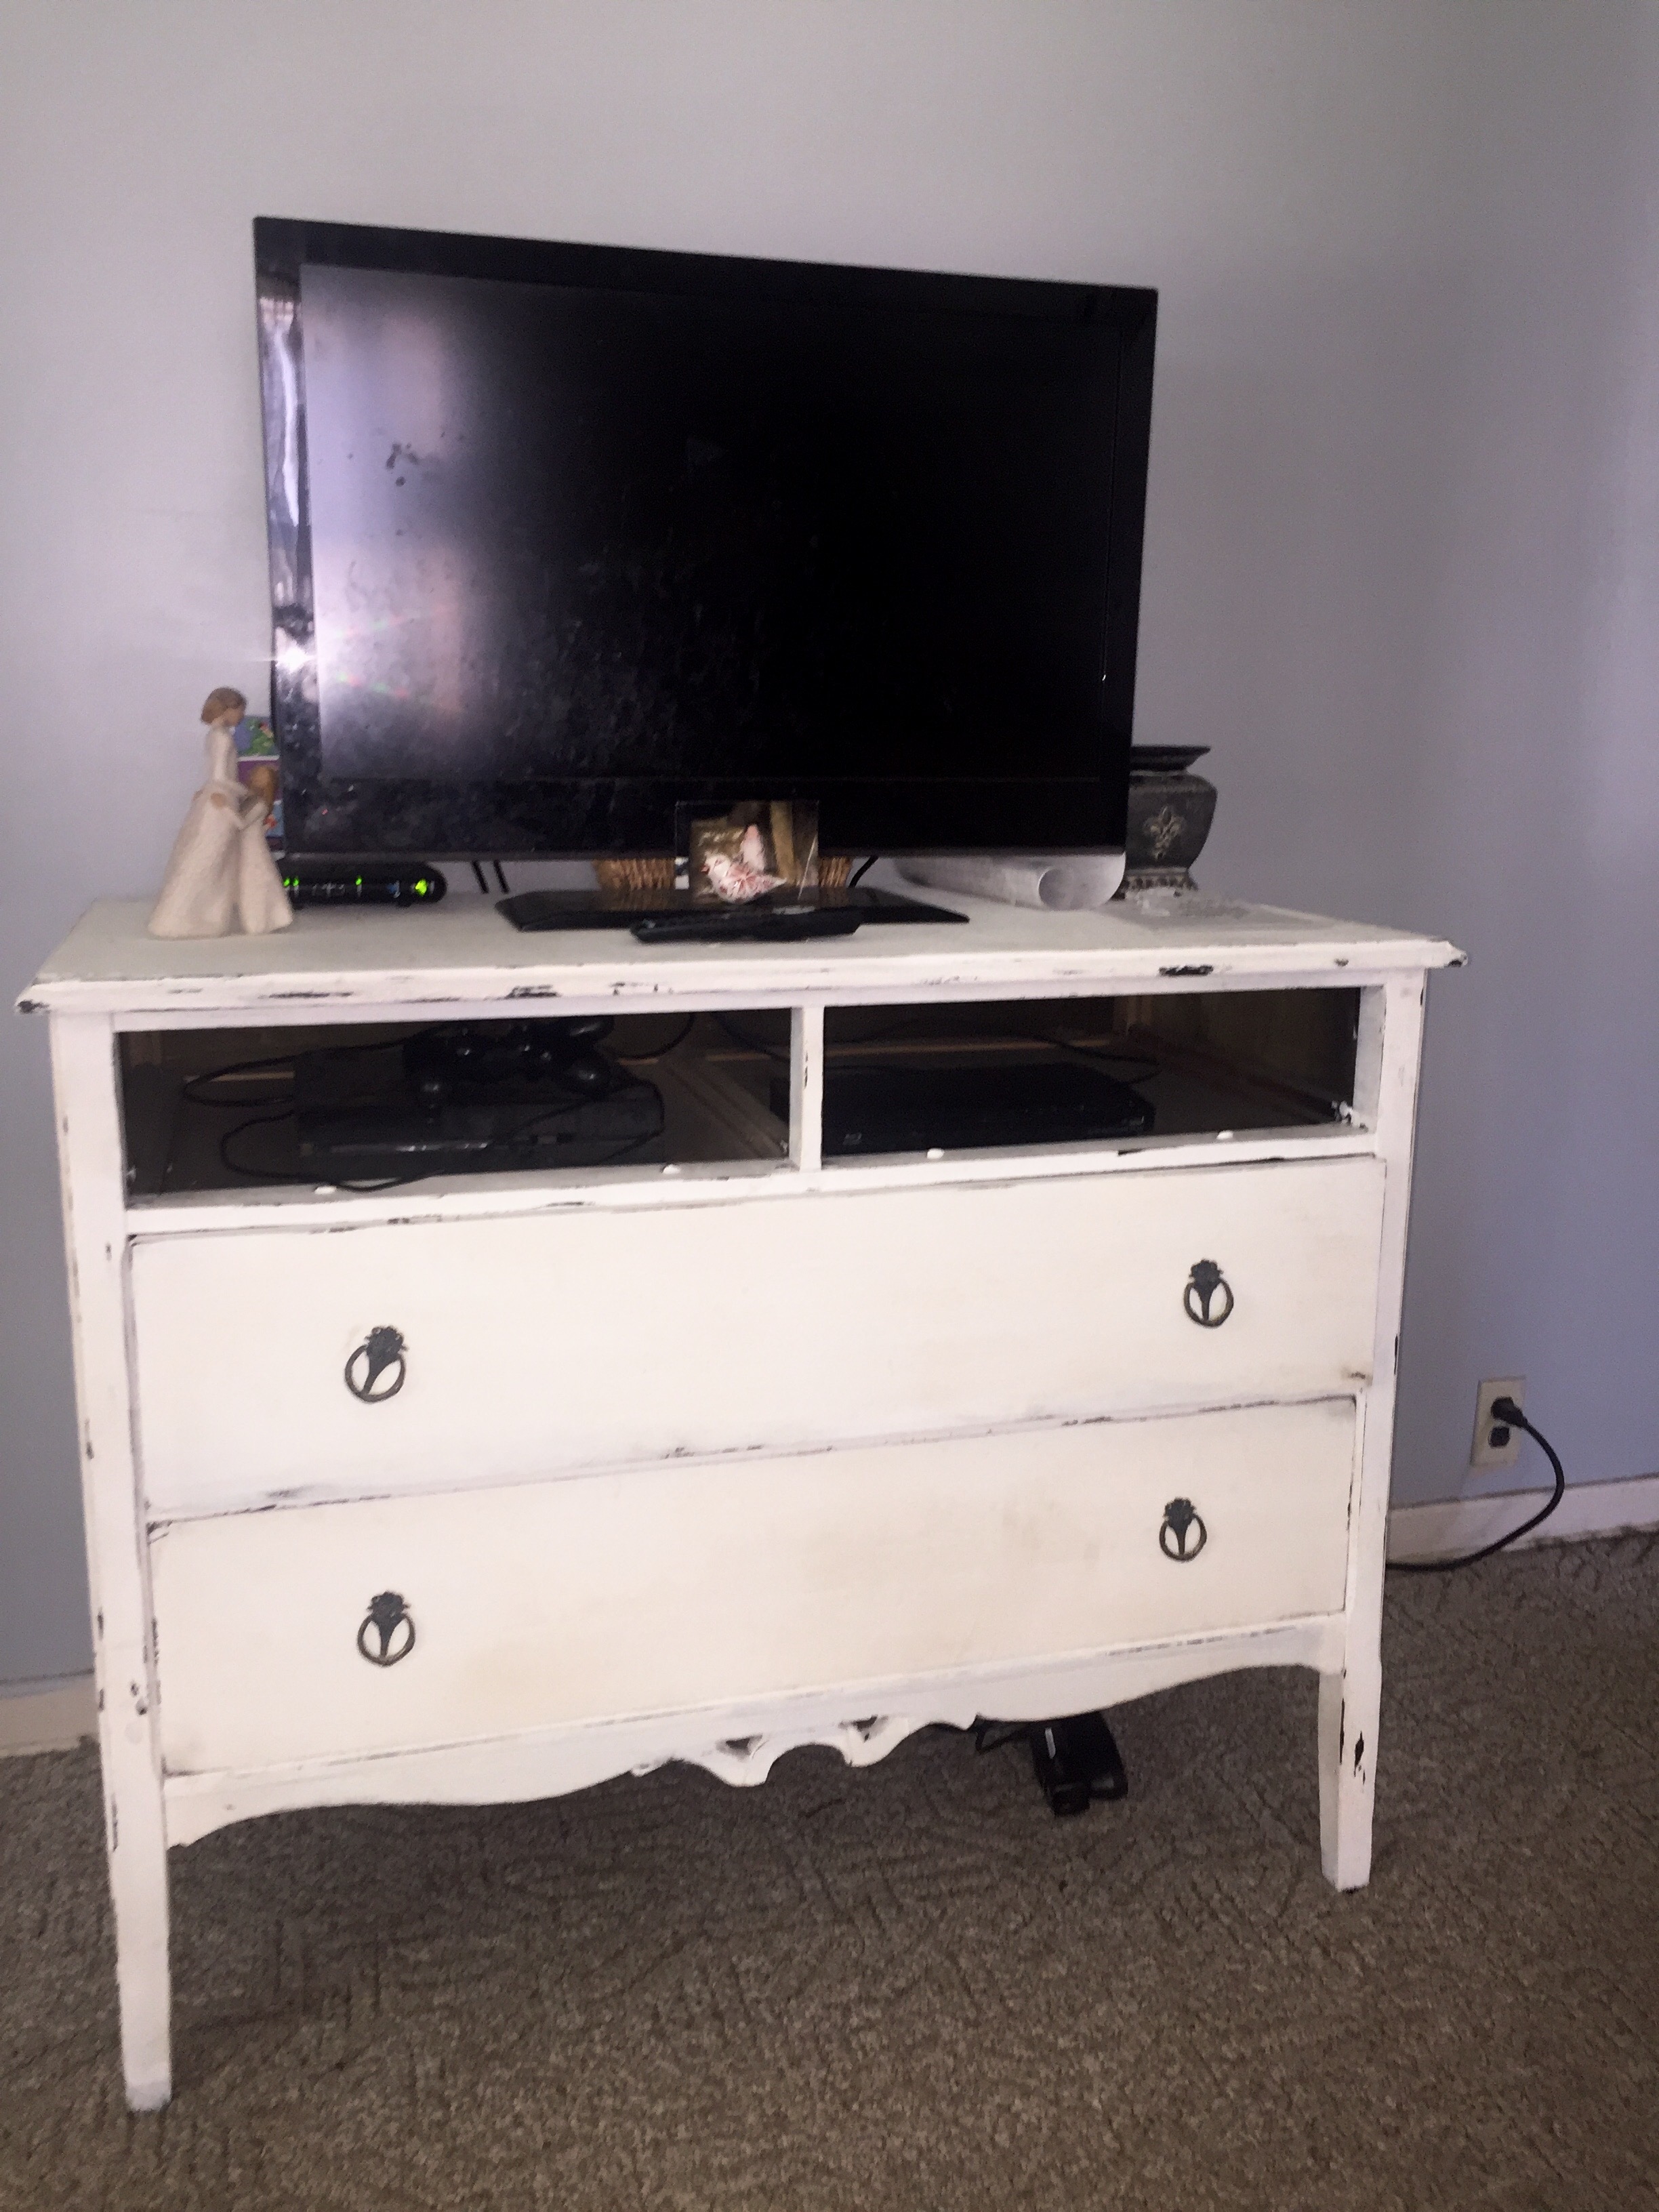
I left the top two drawers out so there would be a place for the Blueray player and PS4. The remaining bottom drawers are perfect for movie/game storage!
I am seriously in love with how my dresser turned entertainment center has turned out!!! The house feels so much more open now, and the white paint looks amazing against our grey walls.
An added bonus: My husband can’t give me any more grief about this once unfinished project.
What’s something that you’ve refinished and repurposed? Or have plans to refinish and repurpose but just haven’t gotten around to yet?